|
When you say nothing
at all (English Translation)
Thanks pspartstudio's tester members

https://groups.google.com/forum/#!forum/pspartstudio-tester
Today I make english translation because my sweet friend Mieke is not well,I wish her a fast healing
Italian Tutorial ©Copyright
Passion.graphic

Spanish
translation ©Copyright
Passion.graphic

German Translation ©Copyright
Passion.graphic

French
translation
©Copyright Manou


Hungarian translation ©Copyright Katinka

Thanks Katinka!
English
translation ©Copyright Passion.graphic

Dutch
translation ©Copyright Passion.graphic

Thank you Mieke!
Turkish
translation ©Copyright Canan

Thanks Canan!
This tutorial was written, designed and its
© Copyright is of Passion.graphic and this translation is © Copyright of Passion. graphic too
This tutorial is regularly registered
The tutorial cannot be copied nor downloaded in other sites or blog without my permission and my link
If I unknowingly violated some copyright please send me mail
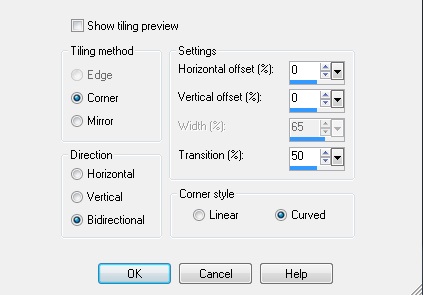
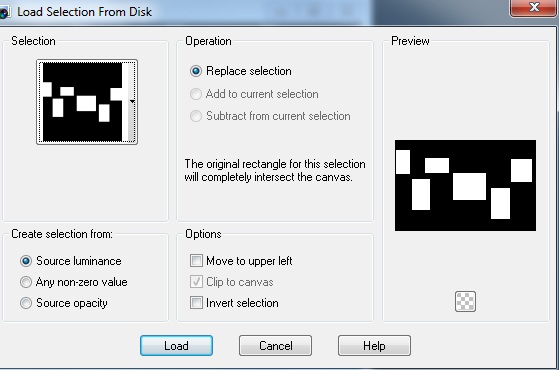
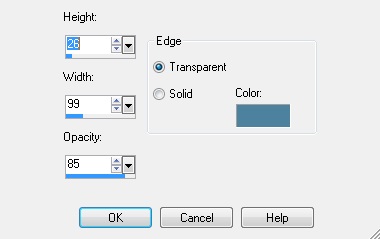
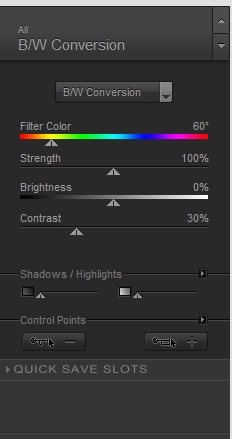
This tutorial was done with PSP X 2, but it can be done with other versions of PSP
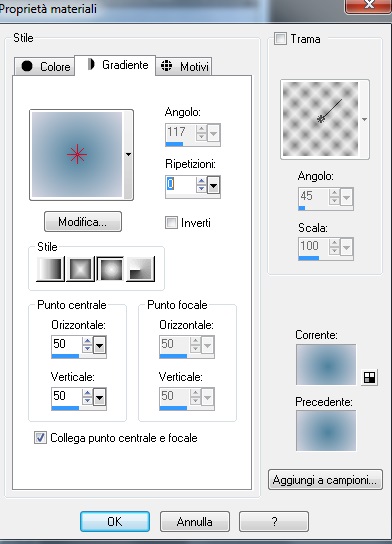
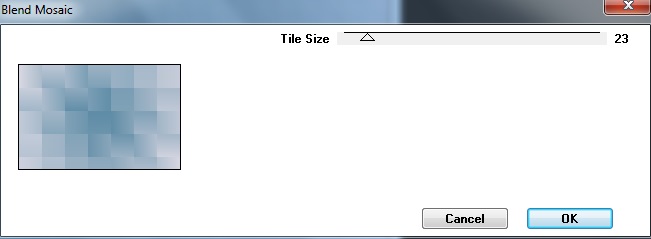
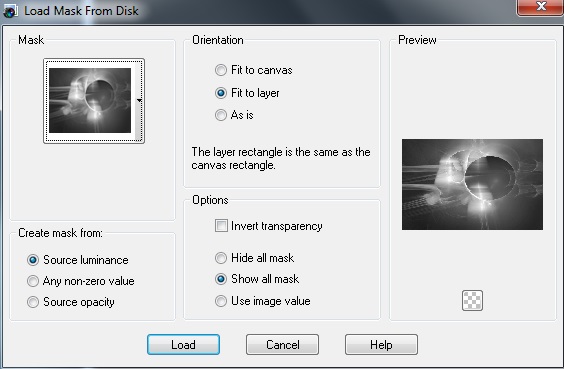
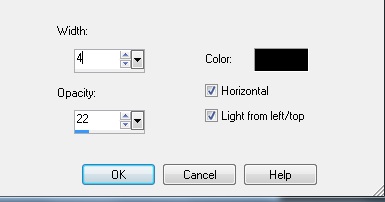
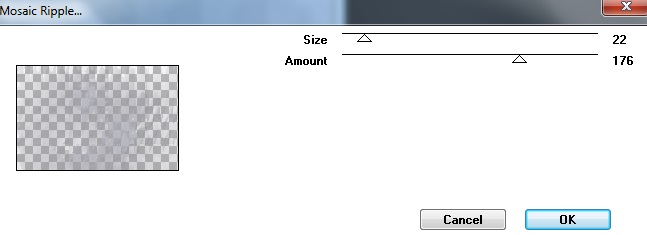
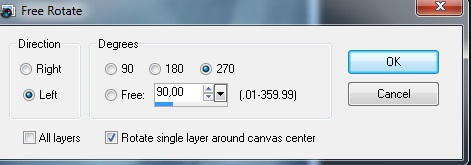
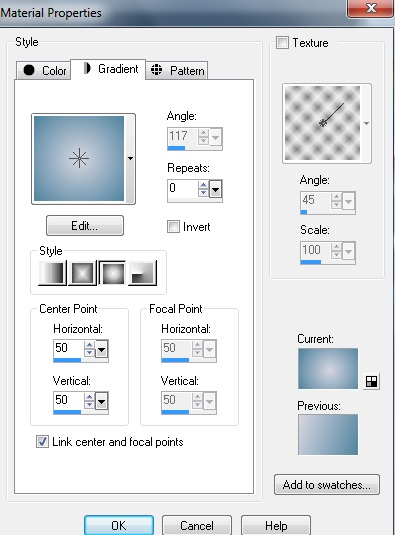
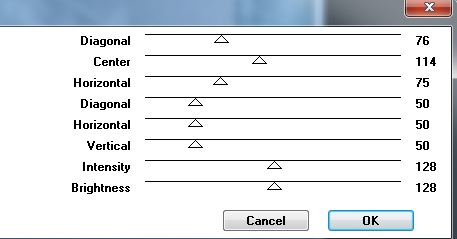
Material

Filters/Plugins
AP01[Innovation]
Graphic Plus
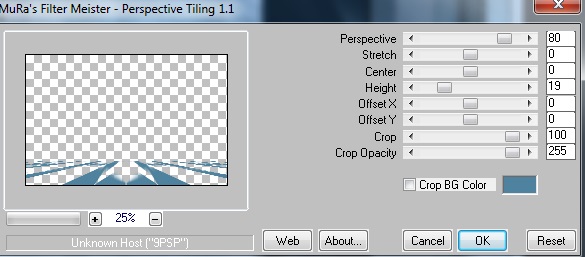
Mura's Meister
Neology
Nick Software
Simple
VM
Distortion

HERE
Thanks to the creators of the tube, because without them we couldn't do graphics
Respects the work of creators and do not delete the copyright level
I would say to the Group of share Fantasiadicolori thanks
for wonderful tubes

Tube
Ana Ridzi

Clo
Guismo

Mask
Narah

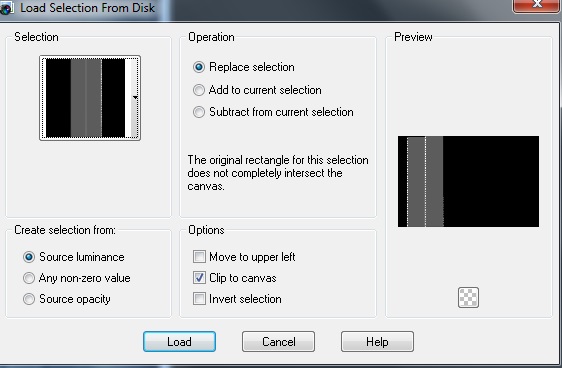
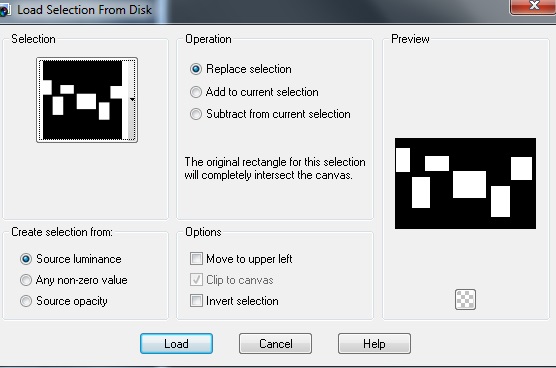
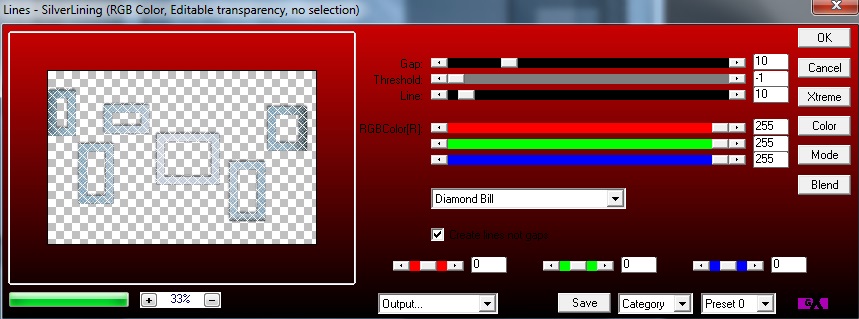
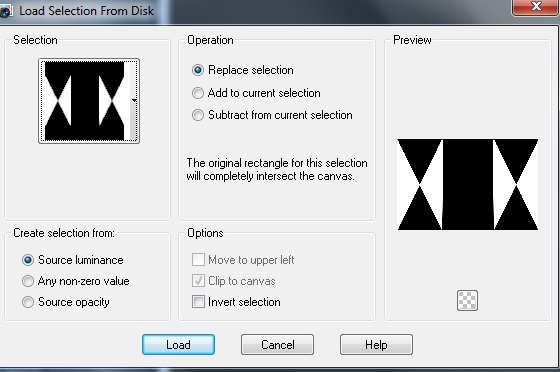
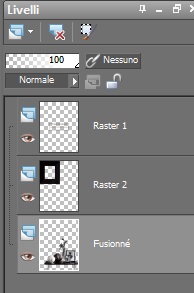
Ok let's start
|